How to Reduce Image Size for Your Blog (Without Losing Quality)
Published August 5, 2026
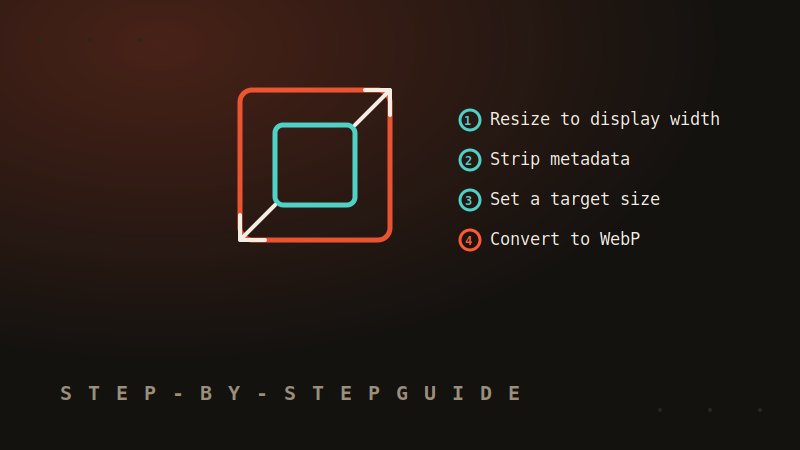
If your blog feels slower than it should, oversized images are the most likely reason. The good news is that reducing image size properly is a five-minute habit, not a technical skill — here's the exact process, step by step.
Step 1: Resize to your actual display width first
Before touching compression at all, check how wide your blog theme actually displays images — most blogs show feature images somewhere between 800px and 1200px wide. If you're uploading a photo straight from your phone or camera, it's likely 3000-4000px wide, several times larger than it needs to be. Resize down to your real display width first; compressing an oversized image is wasted effort compared to simply not uploading unnecessary pixels in the first place.
Step 2: Strip hidden metadata
Every photo carries invisible EXIF metadata by default — camera details, timestamps, sometimes GPS coordinates. It adds extra weight to the file and, separately, can expose more than you intend once published. Removing it has zero effect on visual quality since it's completely separate from the pixel data. This is a quick win most people skip entirely.
Step 3: Compress to a specific target size, not a vague "quality" slider
Rather than dragging a quality slider and eyeballing the result, pick a concrete target — for example, 80-150KB for a typical blog feature image. This gives consistent, predictable results across every image you publish, and makes it much easier to know when you've actually succeeded, rather than guessing.
Step 4: Convert to WebP
If your platform supports it (and almost all do now), converting to WebP typically shaves another 25-35% off the file size compared to JPEG, at very similar visual quality. It's a free size reduction that costs you nothing in appearance.
Step 5: Check the result at full size before publishing
Open the compressed image at 100% zoom and look for visible artifacts — blockiness in areas of flat color, blurring around sharp edges. If you spot obvious quality loss, back off the compression slightly and re-export. This single check prevents the most common complaint people have about compression: catching quality problems before readers do, not after.
Doing all five steps in one pass
Doing this manually for every image gets tedious fast, which is exactly why it's easy to skip. PixPrep's all-in-one optimizer combines resizing to a target file size, metadata removal, and WebP conversion into a single step, entirely in your browser — no upload, no software to install. If you only need one part of this (just compression, or just format conversion), the dedicated EXIF Remover and Format Converter handle those individually.
The bottom line
None of these five steps are technically difficult — the only real skill is doing them consistently, every time, instead of only when you remember. Build it into your publishing routine once, and it stops being a chore.